|
|
Some time ago I purchased a set of struts on eBay for a low price. When I set out to replace the drive axles, I thought it would be a good time to replace the struts too. This page details how I replaced these parts.
This projects starts by jacking up the car and removing the front tire. I'm not going to go into detail of that part here.
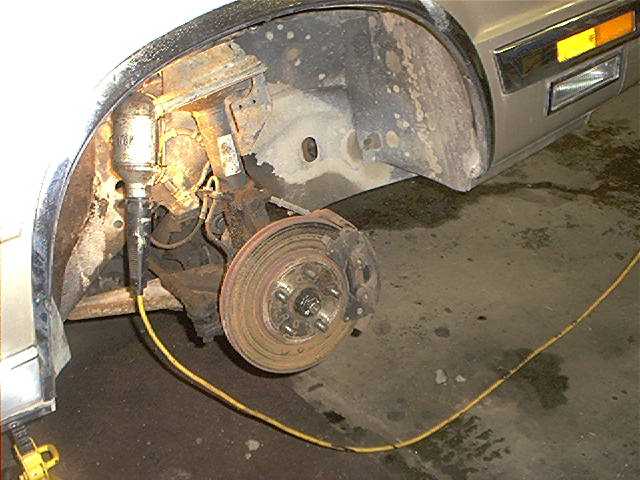
Then, remove the large nut that holds the brake rotor onto the drive axle. I slip a large screw driver into the fins of the rotor, through the opening of the caliper to hold the axle steady while I break the nut loose.
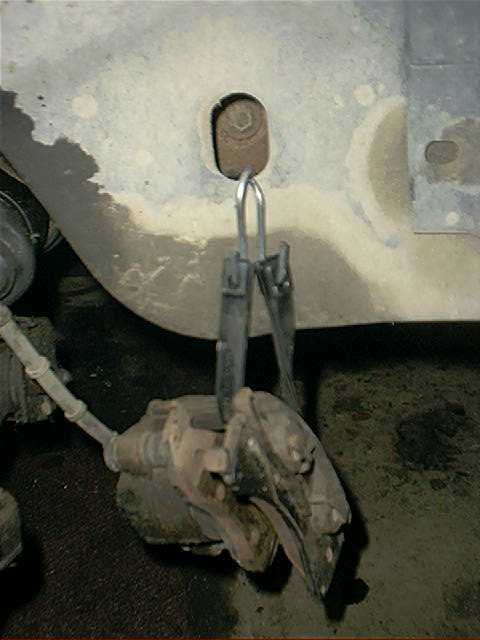
Remove the caliper by removing the two 10mm bolts.

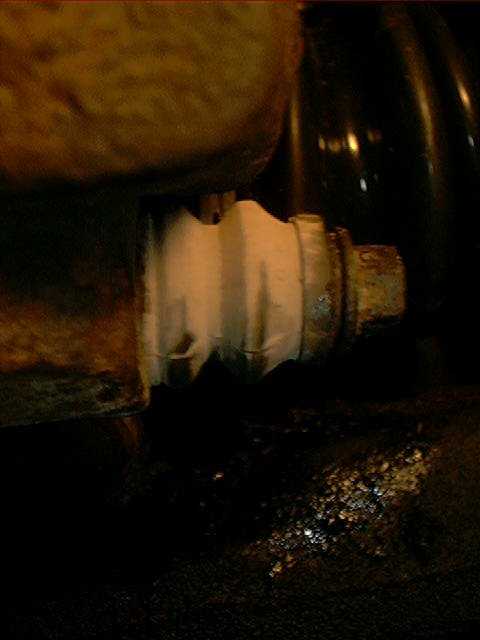
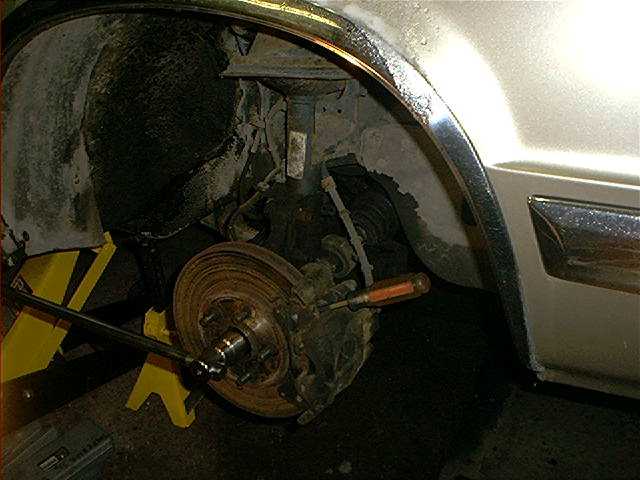
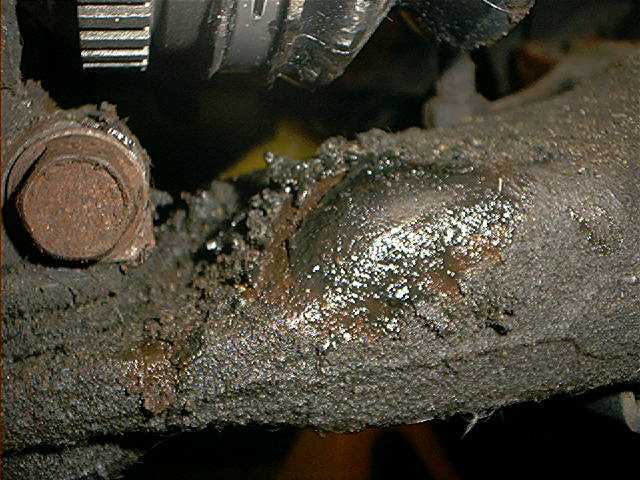
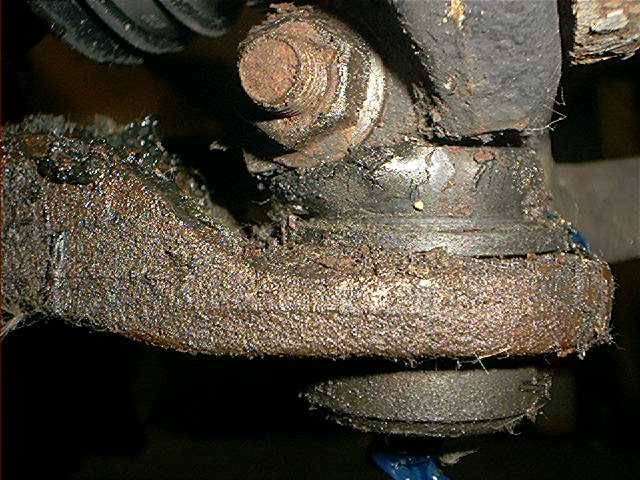
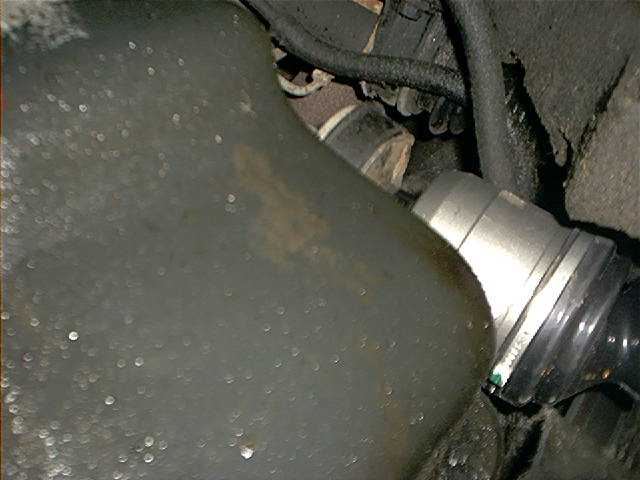
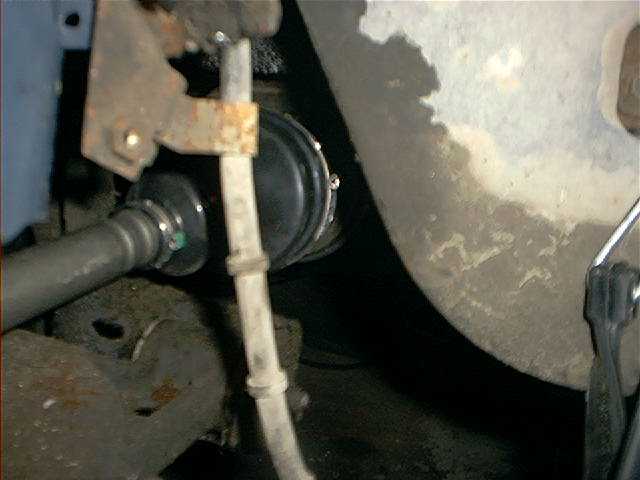
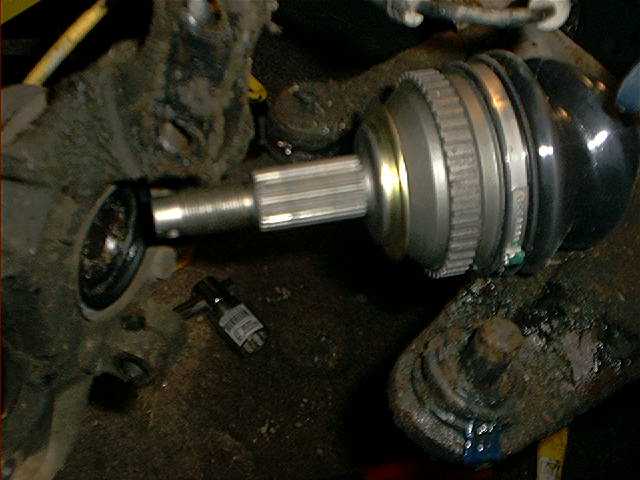
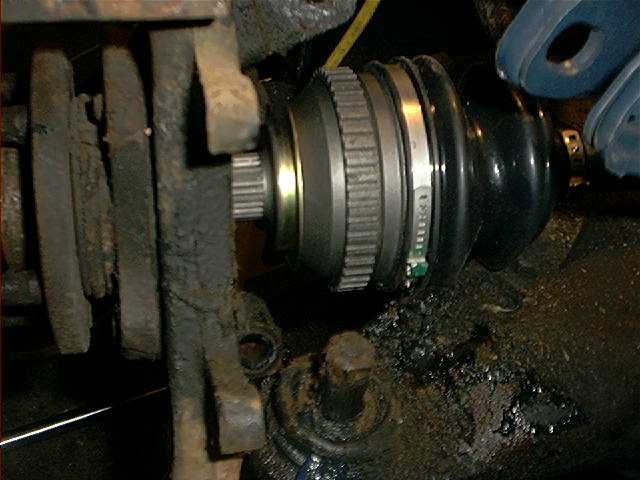
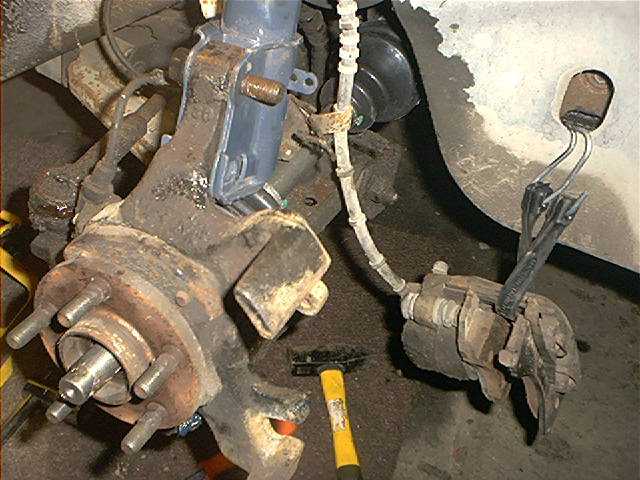
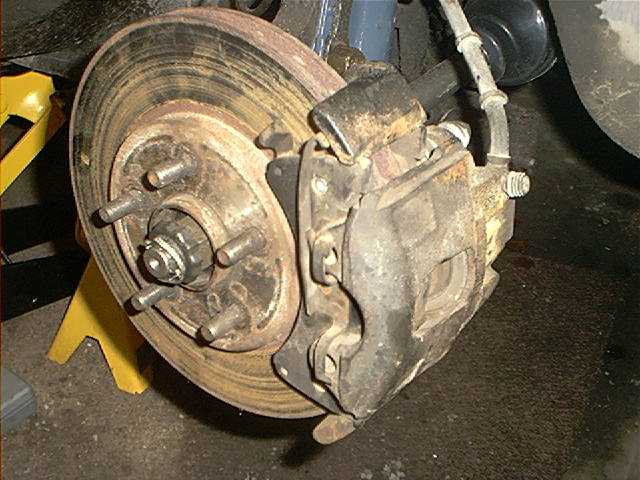
You can see the split outer boot after I got the caliper off. Note how I hung the free (and heavy) caliper from the coil spring using a rubber strap. This is done to avoid stressing and possibly damaging the brake line.
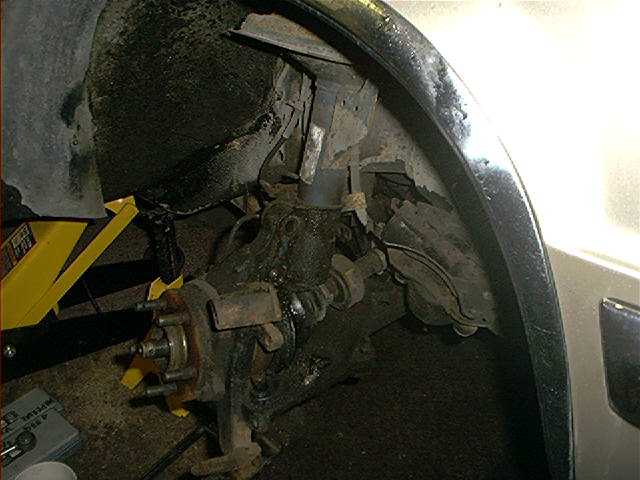
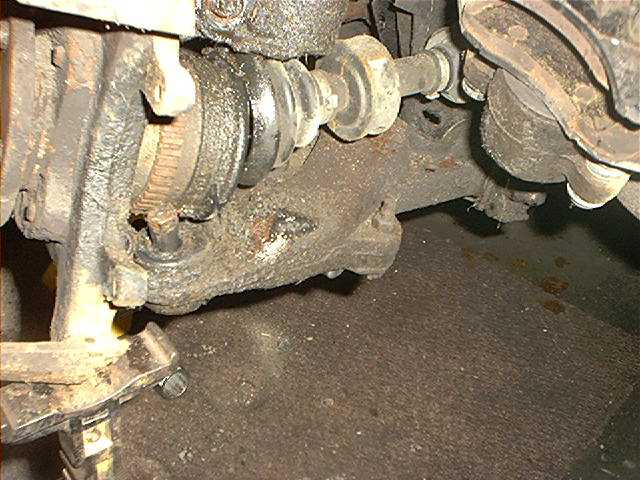
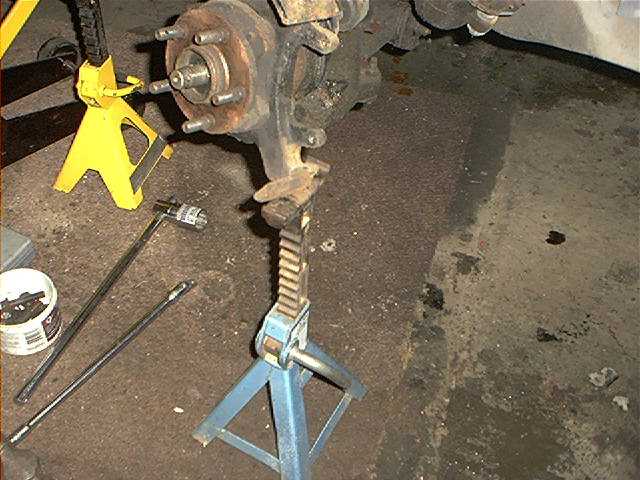
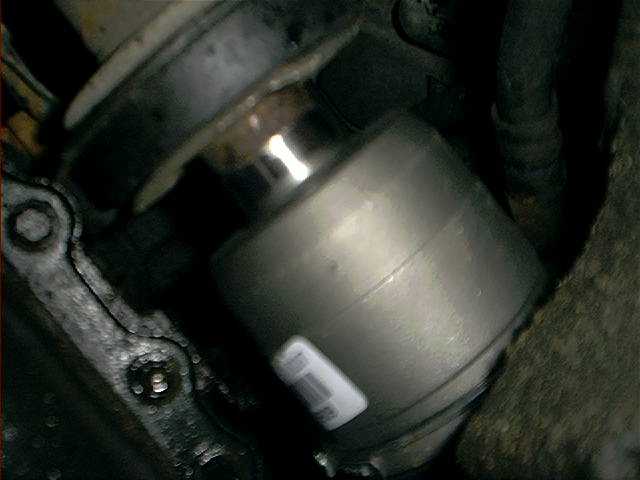
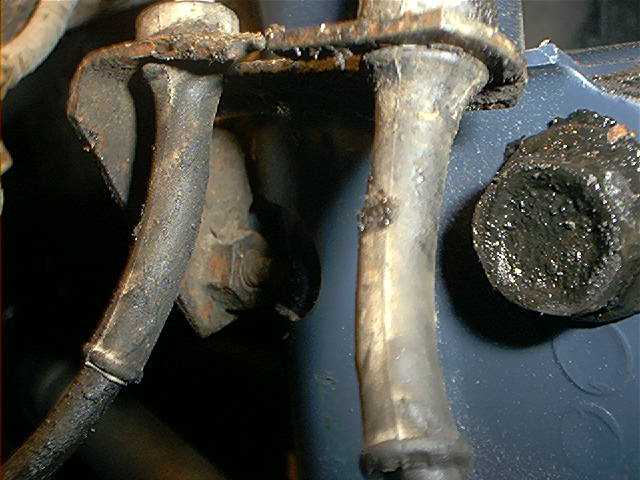
With the caliper out of the way and the rotor removed, remove the bolt (3/4" or 19mm head and nut) that holds the ball joint into the brake adapter (that's what it's called). I put a jack stand under the brake adapter and hit the lower control arm a couple times to drive the ball joint stub out of the brake adapter.
If you are only replacing the drive axle, you can now slip it out of the brake adapter and the transmission.
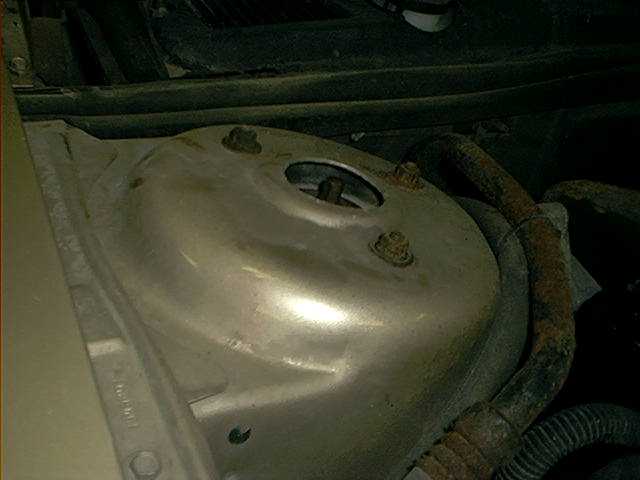
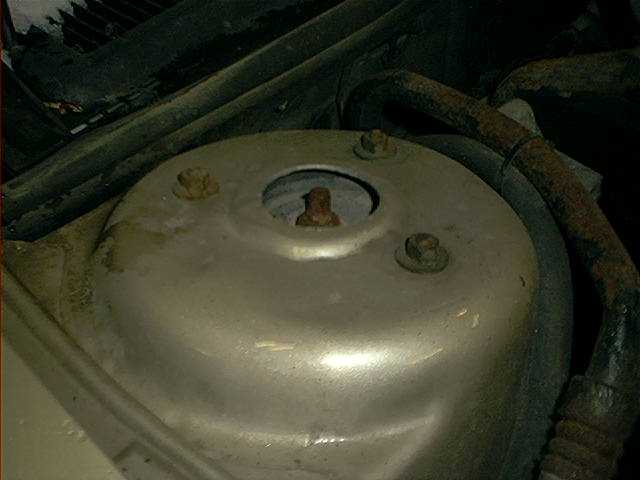
If you are also replacing the strut, Remove the three nuts that hold that strut in from the top, under the hood. The strut may drop some so be ready for that.
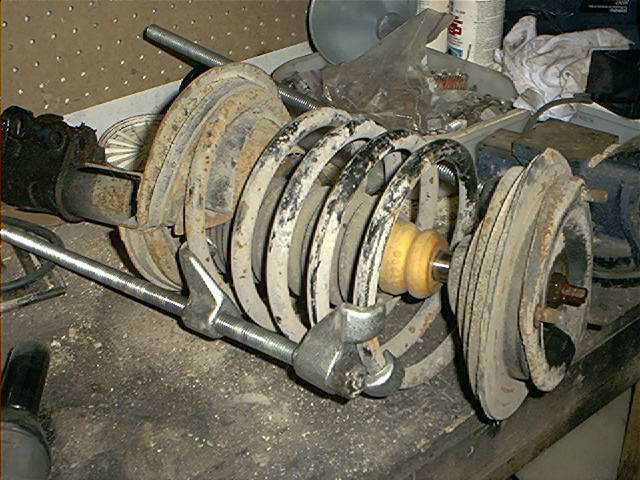
Take the strut/spring assembly to the bench and compress the coil spring using a good quality spring compressor. Be careful with this part.
When the spring is compressed enough that it is pulling loose in the strut, you can then remove the nut from the top end of the shock plunger. I use an impact wrench for this because it can be hard to hold the plunger shaft while you turn the nut with a wrench.
Install the spring and other hardware onto the new strut being careful that the spring and top assembly is on the correct way. There should be instructions included with your new strut for getting all this correct.
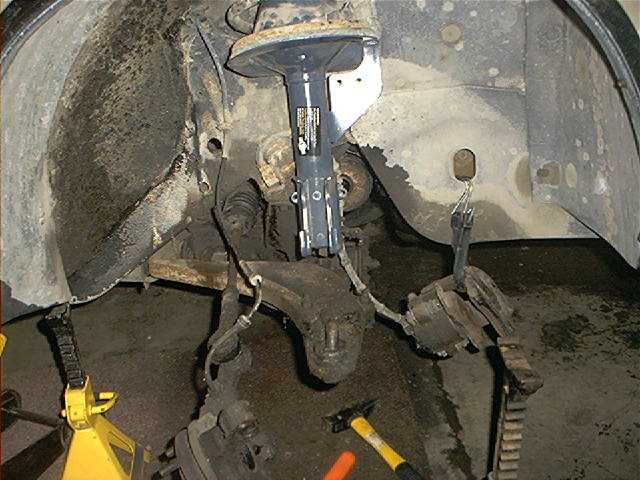
Push the new strut/spring assembly back up into the shock tower. It is handy to have a friend help with this part. Have a friend put a couple of the nuts on the top end of the strut when it comes through the top of the shock tower.
Slide the new drive axle into the transmission (or half shaft if you are working on the right side). Be careful to not bump or damage the rubber CV boots.
Slide the axle toward the rear of the vehicle and slip it in through the brake adapter. You may have to rotate the hub a little to align the spline.
I slipped one of the bolts into the strut to hold it to the brake adapter. This helped keep the bottom of the strut from damaging the CV boot.
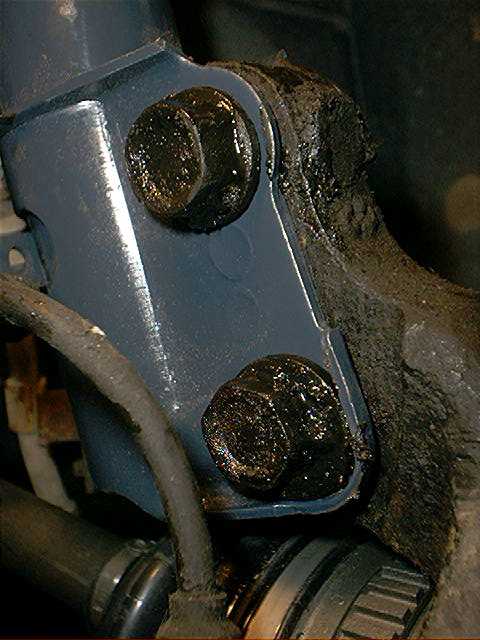
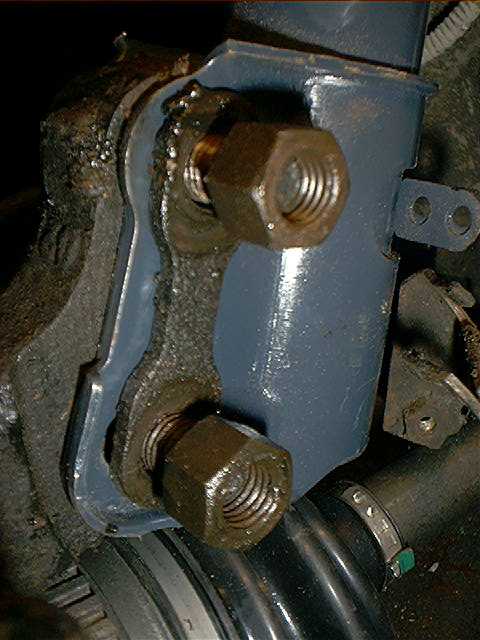
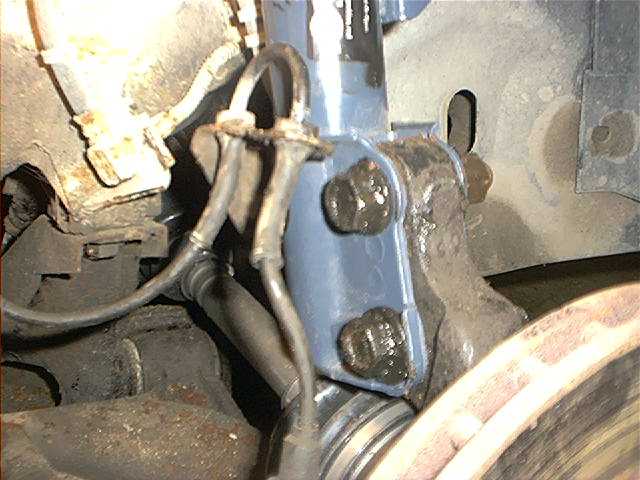
Replace both bolts that hold the strut to the brake adapter. They both go in from the rear and the one with the eccentrically mounted flange goes into the lower hole.
Replace the little bracket that holds the ABS sensor wire and the brake line. This mounts onto the strut with one 10mm head bolt.
Replace the brake rotor and caliper.
Don't forget to tighten the three nuts on the top of the shock tower.
Remount the wheel and wheel cover, let the little beastie back to the ground and you're off to the races!