Shortly after I bought my 1978 Chrysler Newport, I noticed that the transmission would slip in reverse if I were to give it any throttle while backing up. This situation got worse over time and the need for repair grew great. I investigated several options and weighed each according to its own cost and merrits.
Drive into my local transmission shop, have it repaired, get a warranty, driveway. Cost, $700.00
Have a friend rebuild a transmission for me and remove and install the transmission myself. Cost $300.00
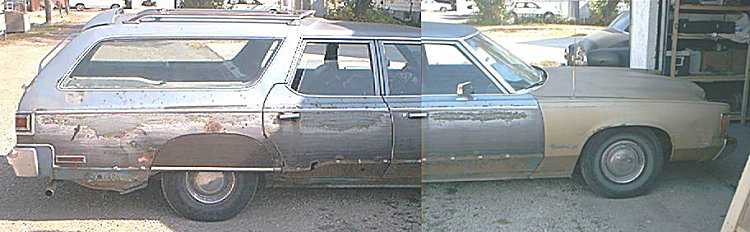
Buy the 76 Chrysler Town & Country 9 Passenger Wagon that I found while investigating a 1951 Imperial Crown Limosine for a fellow IMLer in Dallas, take the recently rebuilt (and proven good) transmission out and install it into the 78 Newport. Cost $300.00
I particularly liked the third idea because the T&C also came with a healthy and proven strong 440 engine.
September 28th,
I bought the 1976 Chrysler Town & Country. I drove it from the PO's house to my place (about 10 miles). The PO was using it as a parts car and would drive it all over the place, including pulling various cars, one of which was the aforementioned 51 Crown Limo. I knew the 440 was strong and the transmission seemed equally as competant.
September 29th,
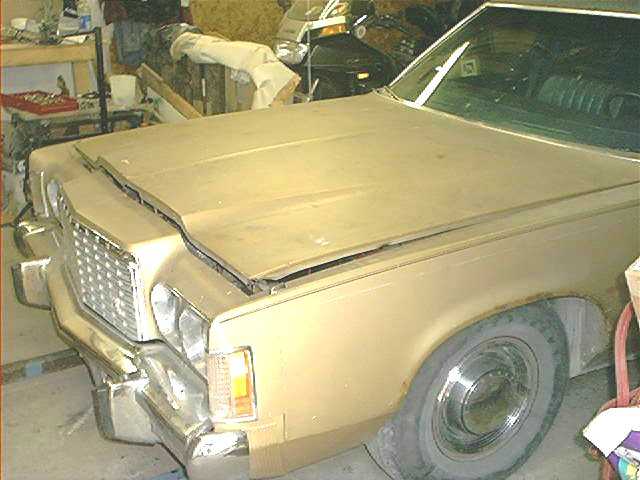
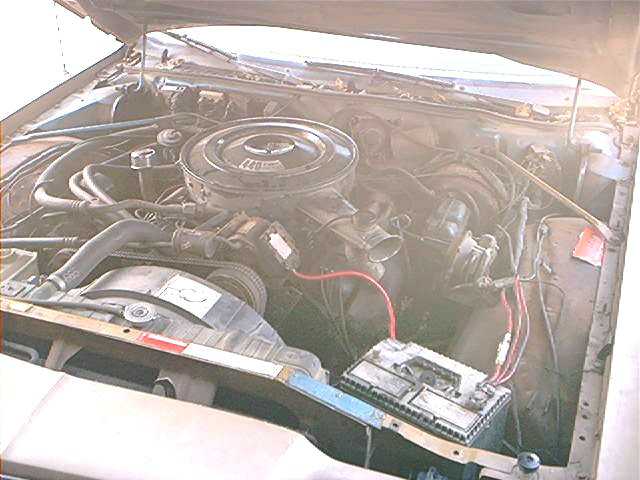
The first thing to do was to get the engine and transmission out of the Town & Country. I drove the beast into the garage. This is the last time this car would ever move under its own power. A rather sad thought but keep in mind, it is donating parts to some very worthy causes.
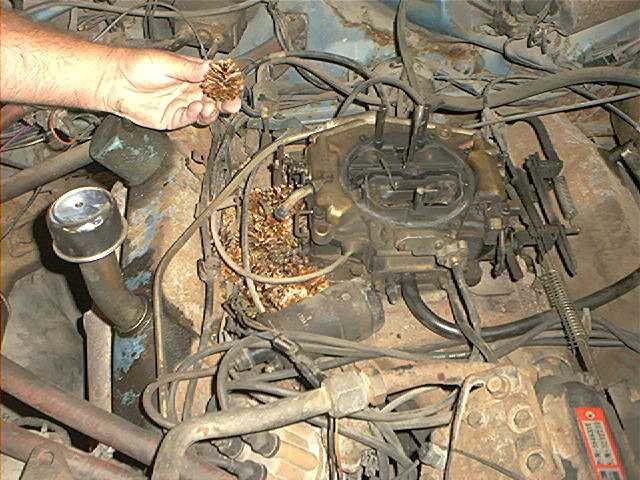
I worked about 6 hours on this and the project was successful. Some day, I'll do an Engine Removal article. I'm not going into detail here however. When I took the air cleaner off, I noticed that there was a huge pile of pine cones tucked betweenthe carburetor and the right valve cover.
I then had a 440 and a 727 sitting in my garage ready to be trans-planted into my 78 Newport. At this point I was in a bit of a pickle. I had a dead T&C half way in and half way out of my garage and I needed to get the Newport in to do the tranny swap. I had to push the T&C out and park it sorta behind my neighbour's car for the day and get the Newport into the garage. Normally, I could have installed the tranny in the driveway next to the garage but the 51 Limo was there so that was not an option. I was realising that I did indeed have too many cars in such a small lot.
September 30th,
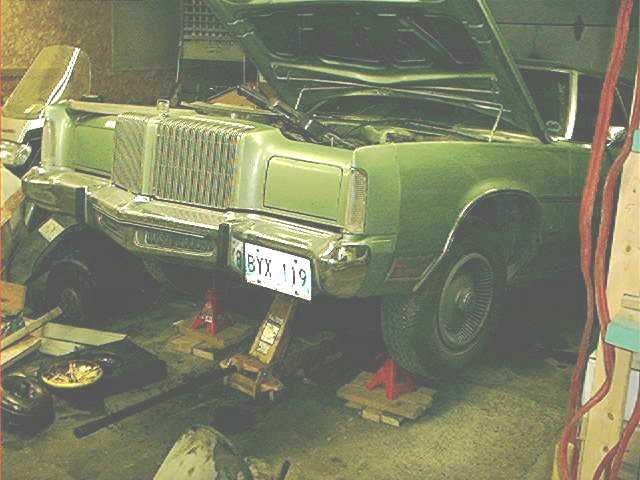
I started work again on the project at about 2PM. I had been to the parts store and bought a few items for the transmission such as a new pan gasket and filter, some transmission fluid, and front and rear seals. It took me a while to change the seals and prep the transmission for the transplant. Having never done anything like this before, I hesitatntly drove my 78 Newport into the garage and put it up on the jack stands. This was a little premature because it made it terribly difficult to remove the four transmission bolts that you have to remove from under the hood from the top. I climbed right up on the engine to do that. Anyone who is familiar with my rather large frame would appreciate the difficulty
in this procedure.
Preparing the transmission for installation included these steps:
Remove pan, change filter, install new gasket, install pan.
Change front and rear oil seals. The seal that was on the transmission had a much longer dust shield than the one I bought from the parts store. Either will work fine.
Changing the seals isn't terribly hard but they just press fit so you need to get them out any way you can. I usually end up destroying them in the process. Putting the new ones in is pretty easy but you have to be careful not to bend or damage them. Get them inserted to the correct depth too.
I wouldn't say replacing a transmission is easy but it isn't exactly rocket science either. It is indeed alot of work but there really are very few pitfalls and difficult maneuvers. I'll attempt to list the basic steps in removing and installing the transmission.
Jack the car up nice and high. The transmission bell housing is fairly tall and you'll need to pull the transmission out either sideways or, as I did, out from under the front of the car. Be sure to USE JACK STANDS! There is no substitute for a good se tof jack stands and they are not expensive. I had to build some blocking to set the stands on so I could get the car up 3 inches higher. Be sure all this is very stable and sturdy. After you get it all set up, give the car a couple good shoves in each direction to be certain it can't fall off the jack stands. I don't have to tell you why you don't want a 5000 lb car falling off the jack stands while you are under it.
You may be saying, "Hey! That's not a Newport! That's a New Yorker Brougham!" You wouldn't be completely wrong there. See my Header Panel Project Header Panel Project for the explanation.
From under the hood.
Disconnect the battery cable so that when you remove the starter, it will not spark on anything.
Remove the four bolts that hold the transmission to the engine. It should be quite apparent which they are. To make life easier, do this before jacking the car up.
From under the car, do the following:
Remove transmission bell housing dust shield (allows access to flex plate bolts)
Remove flex plate bolts. (use the starter to "bump" the engine over a few times to allow access to all four of these bolts)
Remove starter. (I didn't remove the wires from it, I just pushed it aside)
Remove shifter linkage.
Remove kick-down linkage.
Remove two transmission cooling lines.
Remove speedometer cable. (if the rear end ratio of the donor car is different from that of the recipient car then you need to use the speedometer gear that goes with the car)
Remove electical connector.
Remove driveshaft at rear end (I didn't do this because the car was only part way in the garage and I couldn't reach it but life is easier if you DO remove it)
Remove driveshaft at the transmission.
Brace the engine up with something so it doesn't hang on the exhaust system after you remove the transmission.
Remove the horizontal bolt that holds the transmission extension housing to the cross member.
Put two jacks under the transmission, one fore and one aft to hold it up before you do the next step. (I used my floor jack on the front and a scissor jack on the rear. I also had a hydraulic bottle jack as a spare in case I needed to shim a jack or something)
Remove centre section of the crossmember.
The transmission should now be clear to remove. Slip it back about 3/4 of an inch to allow the torque converter to clear the flex plate and allow the bell housing to clear the short aligning pins on the rear of the engine.
Slowly lower the transmission down on the two jacks.
Slide the transmission out from under the car.
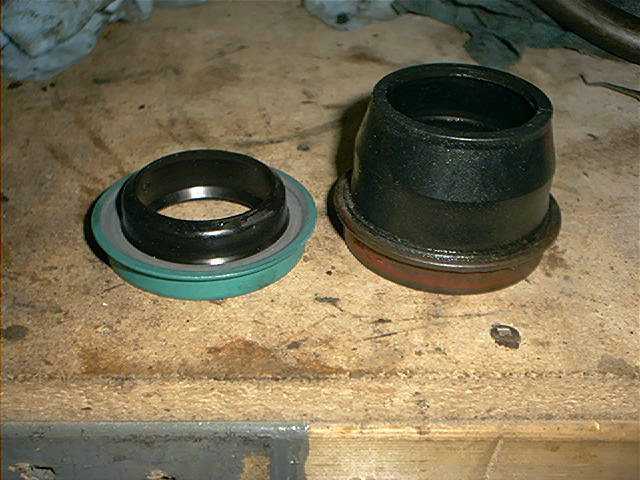
It is important to note at this time that not all torque converters are the same. I had in fact 3 types. There is a 400, a 440, and a lockup. In 1978, cars had a lockup transmission to assist fuel economy. The 76 transmission I was installing was not a lockup. The 400 torque has a 10 inch bolt spacing where the flex plate matches up. The 440 torque has an 11 inch spacing. I was in another pickle because the torque that came with the Newport was a 400 lockup. The one that came with the T&C was a 440 non-lockup. I needed a 400 non-lockup. This was NOT in the original plan. It just so happened that I had, a few weeks earlier, taken the engine and transmission out of my 77 NYB parts car and it had a 400 engine so I therefore
DID have a 400 non-lockup torque. I therefore used the torque converter from my 77 NYB.
Notice how the input shaft of the lockup transmission (above) differs from that of the non-lockup (below).
Be sure the torque converter slides all the way onto the tranny input shaft. There are two notches that need to mate with the tranny's oil pump.
Get a couple bolts that are about 2 or 3 inches long the same size as those you removed from under the hood. Cut the heads off them and install them into the engine where the tranny mates to it. This will give you a nice pin to help align the transmission. I actually did it without these but it was a little more difficult. Not exactly rocket science though.
Getting the replacement tranny up on the jacks was one of the hardest parts. It is hard to lift the tranny while you are under the car so I just used a number of short pieces of 2 x 4 plank to lift the tranny up on until I could get the jacks under it.
After the tranny is on the jacks, jack it slowly and carefully up into place.
I installed the cross member centre section as soon as I could to give the rear of the tranny something to sit on, other than a jack.
Align the pins in the engine with the mounting holes in the tranny and slide it into place.
Re-connect all the stuff that you disconnected and this is about all there is to installation except for the following tips.
Be sure the new torque converter is lined up with the flex plate properly. There is only one way for it to go on as it has weights on it. I made the mistake of installing the flex plate bolts and not tightening them all the way the first time around. Then, as I bumped the engine over with the starter, I couldn't tell which ones I has tightened and which I had not. I was working alone so I couldn't watch the thing turn. I resolved this by painting each bolt with spray paint as I tightened them all the way. Then I just made sure I got to paint all four, then I knew they were all tight.
If you had to replace the speedometer gear due to a different rear end ratio in the two vehicles, note that the gear is mounted on a type of eccentric and can only be installed one of four ways. You should be able to figure that out when you see it.
The only other item that you could have a challenge with is the linkage. You need to align the shifter linkage properly AND also align the kick-down linkage so that the transmission will shift down at the correct time.
Take the jack stands out and let the car down again.
Be sure to remove the aligning pins and replace the four bolts that you removed from under the hood.
Reconnect the battery cable and go for a test drive!
The only issue I had after doing this project is detailed here.